
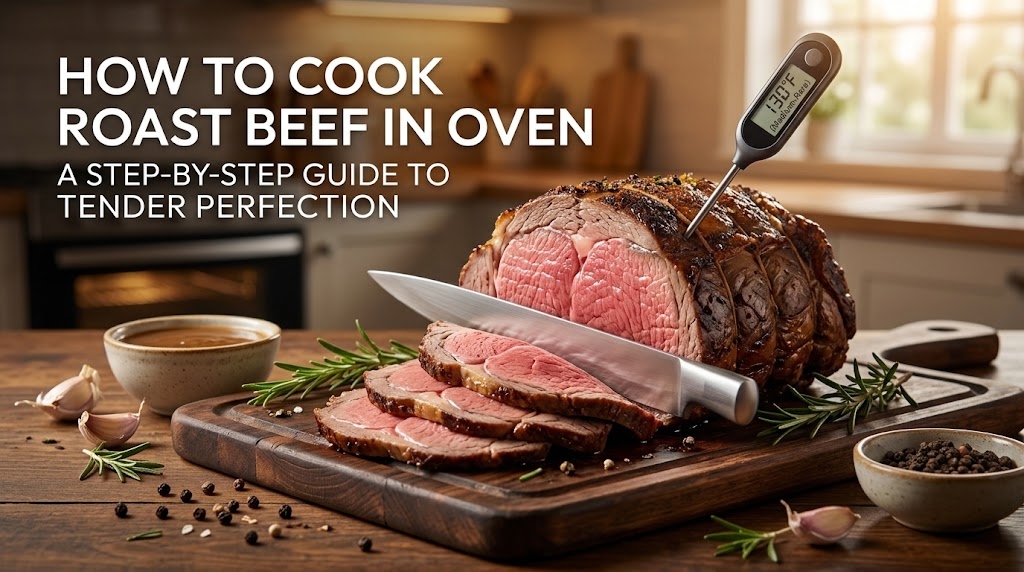
Learning how to cook roast beef in oven can turn a plain meal into a special one. A good roast looks fancy, but the method is simple. You need the right cut, steady heat, and a little patience. Many home cooks worry about a dry or tough roast. Often, the cause is guessing the time instead of checking the meat.
This guide walks you through the whole process, from the store to the table. You will learn how to pick a cut, season it, and set up your oven. You will also see how to use a thermometer, rest the meat, and slice it well. Along the way, you will find easy fixes for common problems. By the end, you can cook a tender roast with more confidence.
Choose the Right Cut for Oven Roasting
Not every cut of beef turns tender in the oven. Roasting uses dry heat, so it works best with cuts that stay soft without extra liquid. Common choices include sirloin tip, top round, rib roast, ribeye roast, and tenderloin. Leaner cuts like top round cost less. They can turn dry if you cook them too long.
Cut names can change from one country or shop to the next. Show the butcher a photo, or ask for a roast made for oven cooking. Ask for a piece with an even thickness, because it cooks more evenly. Tough cuts such as chuck or brisket often do better with slow, moist cooking, like braising. As a simple guide, plan on about 225 g (half a pound) of boneless beef per person.

Get Your Beef Ready Before Cooking
Take the roast out of the fridge a little before you cook. Many cooks let it stand on the counter for 30 to 60 minutes so it heats more evenly. Do not leave raw meat out for too long. The USDA advises against leaving perishable food out for more than two hours. The limit drops to one hour when the room is above 90°F (32°C). In a hot kitchen, keep this wait short.
Pat the beef dry with paper towels, because dry meat browns better. Rub it with oil, salt, and black pepper. Garlic powder, thyme, or rosemary also work well. Some cooks salt the roast a day ahead and leave it uncovered in the fridge. This can help the surface dry out and brown. If the roast has an uneven shape, tie it with kitchen string so it cooks evenly.
Easy Flavor Ideas Beyond Salt and Pepper
A simple herb paste can make the crust taste rich. Mix chopped garlic, rosemary, thyme, and olive oil in a small bowl. Spread it over the dry roast just before it goes in. Fresh garlic can burn in a very hot oven, so this paste works best with the lower 160°C (325°F) method. If you sear first, add the paste after browning.
A thin coat of mustard is another easy option. It helps the herbs stick and adds a gentle tang. Others prefer a dry rub made with paprika, black pepper, and onion powder. Try one new flavor at a time. That way you can tell what worked and what you want to change.
Set Up the Oven and Pan
Place an oven rack in the lower middle position. This lets hot air flow around the roast. Preheat the oven fully before the beef goes in. Many recipes use 160°C (325°F) for steady cooking. Oven dials can be off, so a small oven thermometer can help. Fan ovens often cook faster, so check the meat early.
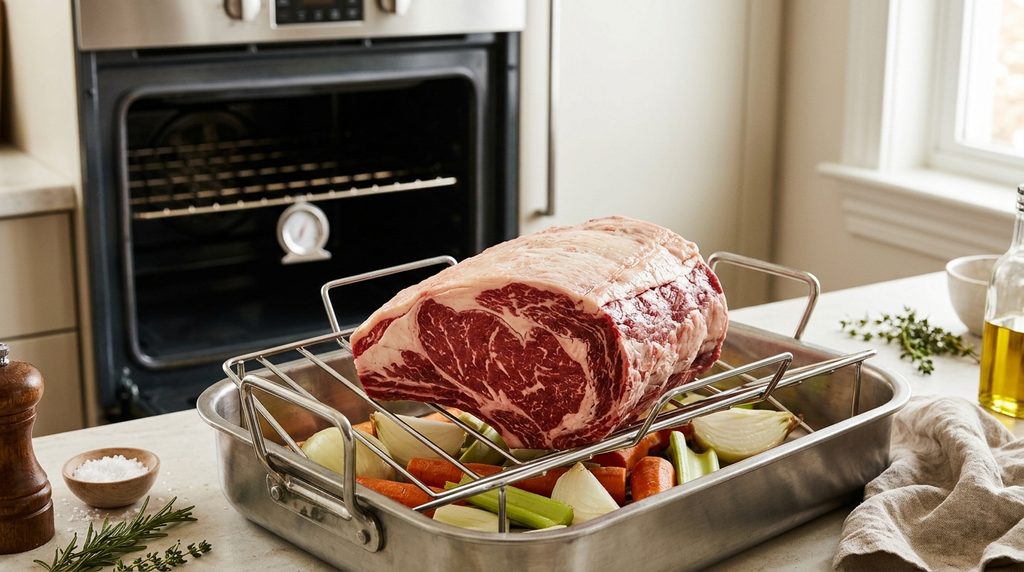
Use a roasting pan with low sides, or a sturdy baking tray. Set the beef on a rack with the fat side up. The fat melts and bastes the meat as it cooks. No rack? Lay thick slices of onion, carrot, and celery under the roast. They lift the beef off the pan and add flavor to the juices.
How to Cook Roast Beef in Oven: Step by Step
First, brown the outside for flavor. You can sear the roast in a hot pan for a few minutes on each side. Or you can start it in a hot oven, around 230°C (450°F), for about 15 minutes. Then lower the heat to 160°C (325°F). Searing needs an extra pan, but it gives you more control over the crust.
Next, push a probe or instant-read thermometer into the thickest part of the meat. Keep the tip away from bone and fat. A leave-in probe with an alarm lets you watch the heat without opening the door. Start checking about 30 minutes before you expect the roast to be done. Try not to open the oven door too often. Each time you do, heat escapes and the cooking slows down. Take the roast out when it reaches your pull temperature, which the next section explains.
Oven Time and Doneness Temperatures
A rough guide for a 160°C (325°F) oven is about 20 minutes per pound (450 g). A 2 kg roast, which is about 4.5 pounds, may need around 90 minutes. Shape matters too. A long, thin roast cooks faster than a thick, round one. Treat time as a guess, and let the thermometer make the final call.
The roast keeps cooking after you take it out, so pull it a little early. For medium-rare, many cooks remove it near 52–54°C (125–130°F). For medium, they remove it near 57–60°C (135–140°F). The heat usually rises another 5 to 10°F (3–6°C) as the roast rests. The USDA lists 63°C (145°F), plus a three-minute rest, as the safe minimum for whole cuts of beef. Cooking to a lower level is a personal choice. Children, older adults, pregnant people, and people with weak immune systems should follow official food safety advice.
Rest and Slice the Roast
Move the roast to a cutting board and cover it loosely with foil. Let it rest for 15 to 20 minutes. Larger roasts may need a little longer. Resting lets the juices settle back into the meat. If you slice too soon, the juices run onto the board and the slices turn dry. Use this time to make gravy and finish your side dishes.
Always slice across the grain. The grain is the direction the muscle fibers run. Think of dry spaghetti in a box. Cutting across the strands makes short pieces that are easy to chew. Use a long, sharp knife. Cut thin slices for sandwiches or thicker ones for dinner.

Make Easy Gravy From the Pan Juices
The pan holds a lot of flavor. Move the roast to the board, then pour off most of the fat. Keep about 2 tablespoons in the pan. Set the pan over medium heat and stir in 2 tablespoons of flour. Cook for one minute, then slowly whisk in about 2 cups (480 ml) of beef stock. Simmer until it thickens.
Scrape up the browned bits from the bottom as the gravy cooks. These bits add deep flavor. Taste before you add salt, because stock and drippings can already be salty. Strain the gravy if you see lumps. A splash of Worcestershire sauce or a spoon of tomato paste can add depth. The pan will be very hot, so use oven gloves.
Plan Your Timeline for Dinner
Imagine you want to serve dinner at 7:00 pm. Work backward from that time. The roast needs 15 to 20 minutes of rest, so it should leave the oven around 6:30 pm. If it needs about 90 minutes, it goes in around 5:00 pm. Add a little extra time, because ovens and roasts rarely match a chart.
A covered roast stays warm for a short time, so a small delay is fine. Use your thermometer to check that cooked meat does not fall below 60°C (140°F) while it waits. Gravy and sides can finish while the beef rests. If guests arrive late, reheat the gravy and slice only what you need. Sliced meat cools faster than a whole roast.
Common Mistakes and Easy Fixes
A common mistake is cooking by time alone. A thermometer costs little and can save a roast. Another mistake is slicing right away. Cooking a very cold roast can also cause uneven results, such as a dry outside and a raw center. Packing the pan with too many vegetables creates steam, which weakens browning. Give the roast some space. Skipping the preheat is another trap. A cold oven changes the cooking time and makes the crust harder to brown.
If the roast turns out dry, slice it thin and warm the slices in gravy or stock. If it feels tough, it may be a lean cut, or you may have sliced with the grain. Cut thinner slices across the grain next time. If the outside darkens too fast, lower the heat and tent the roast with foil. If the center is too rare after slicing, return the slices to a hot oven for a few minutes.
Frequently Asked Questions
Should I cover roast beef with foil while it cooks?
Many cooks leave it uncovered so the outside can brown. If the top darkens too fast, cover it loosely with foil. Do not wrap it tightly. Trapped steam softens the crust and changes the texture.
Can I cook roast beef from frozen?
The USDA says you can cook beef from frozen, but it takes about 50 percent longer. Thawing in the fridge gives more even results. A large roast may need a day or more to thaw. Do not thaw meat on the counter.
How long do roast beef leftovers last?
Put leftovers in the fridge within two hours. The USDA says cooked beef keeps about three to four days in the fridge. Reheat it to 74°C (165°F) before eating. You can freeze slices if you will not finish them in time.
Do I need to add water to the roasting pan?
Usually, no. The roast makes its own juices. A small splash of water or stock can stop the drippings from burning if the pan looks dry. Too much liquid creates steam and keeps the outside from browning.
When should I add potatoes and carrots?
Cut them into large chunks and toss them with oil and salt. Large chunks can need an hour or more in a 160°C (325°F) oven. Add them about 75 minutes before the roast should finish, and check them with a fork. If they need more time after the beef comes out, raise the oven heat while the beef rests.
Is a bone-in roast better than a boneless one?
Neither is better for everyone. Some cooks like the flavor and look of a bone-in roast. The bone can shield nearby meat, so cooking may be uneven. Boneless roasts are easier to carve and often cook more evenly. Keep the thermometer tip away from the bone either way.
Final Thoughts
Cooking a good roast comes down to a few habits. Choose a suitable cut, let it stand briefly, and season it well. Use steady heat and a thermometer instead of the clock. Then rest the meat and slice it across the grain. These steps do more for flavor and softness than any fancy trick.
For your next meal, start with a simple roast and basic seasoning. Write down the weight, oven heat, and pull temperature. Note how the roast turned out, and adjust next time. Check your meat label and official food safety sites for current advice. With a little practice, how to cook roast beef in oven will feel easy.
Disclaimer
This article is for general information only, and it was written with AI assistance. Cooking times, food safety rules, and product details can change. It may not cover every kitchen or situation. Please check important or current details with official or trusted sources, such as your national food safety agency, before you rely on them.