
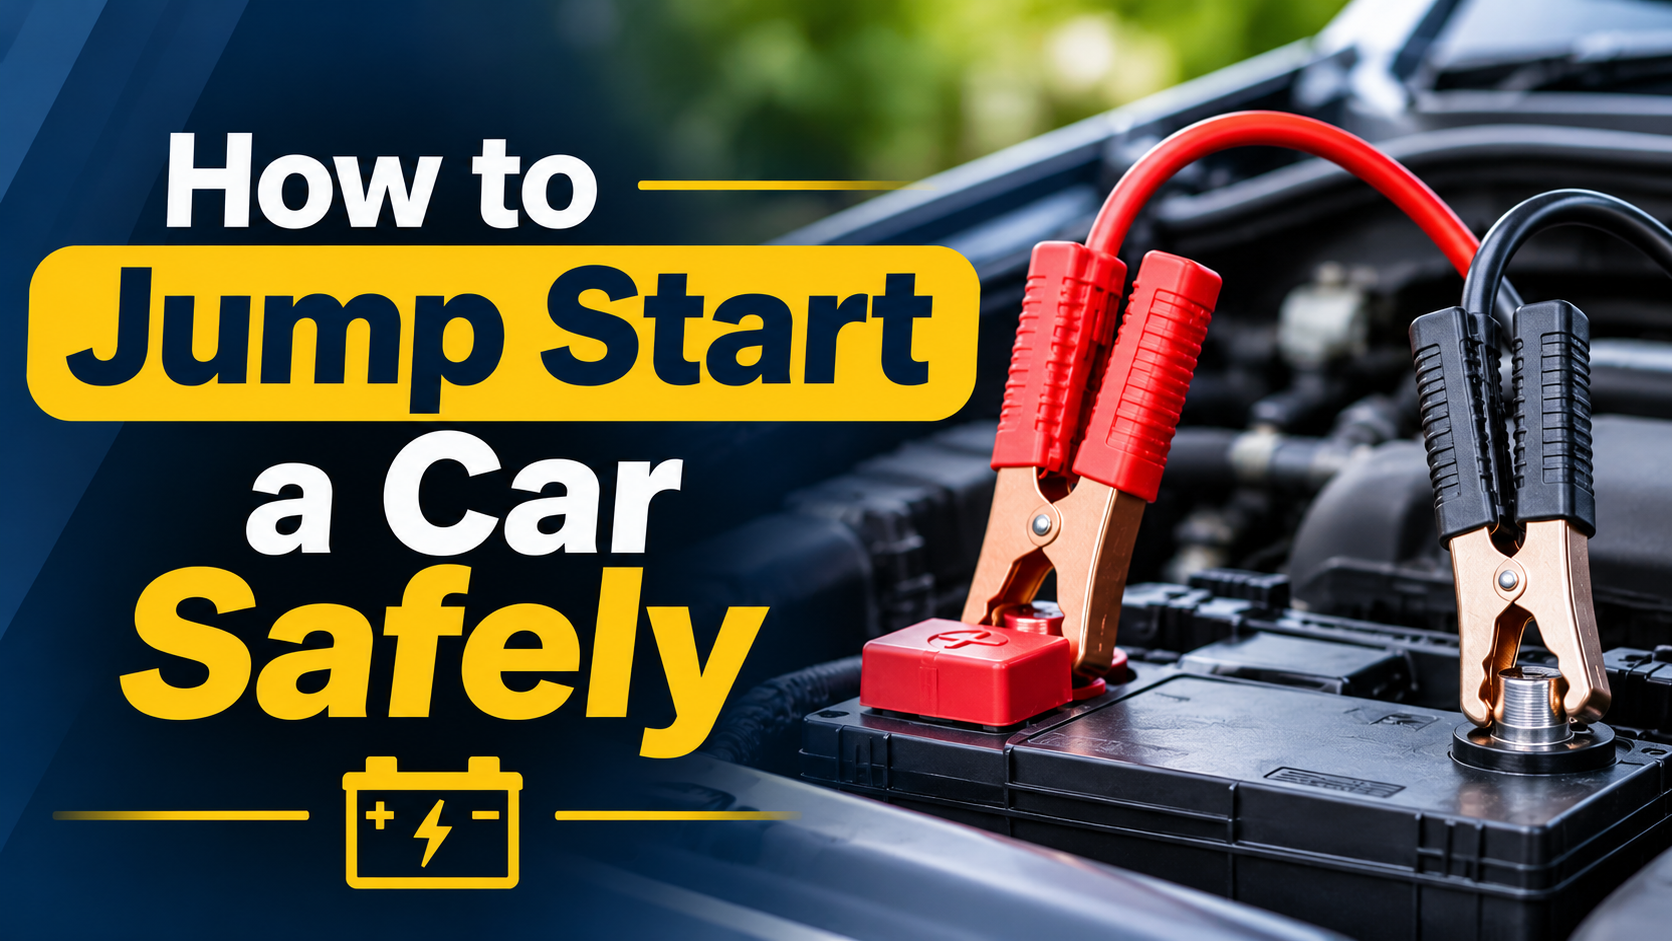
A car that clicks, groans, or does nothing at all is one of the most frustrating ways to start the day. The good news is that a flat battery is usually fixable in minutes, as long as the jump start is done correctly. Done wrongly, it can damage electronics, harm the battery, or even cause injury. A battery that needs repeated jump starts is also worth a proper battery health check, so the underlying cause gets found.
This guide covers what you need, the exact order for connecting the cables, the mistakes to avoid, and what to do if the car still refuses to start.
When a Jump Start Is the Right Fix
A jump start only helps if the battery is the problem. Before reaching for the cables, check that the symptoms match a flat battery.
Signs that a jump start is likely to work:
- A slow, laboured crank when you turn the key or press the start button
- A rapid clicking sound with no engine turnover
- Dim interior lights or dashboard lights that flicker when you try to start
- A car that worked fine yesterday but will not start after sitting overnight or during cold weather
- Headlights or interior lights left on for several hours
If the engine cranks strongly but will not fire, the battery is probably fine. That points towards a fuel, ignition, or sensor issue, and a jump start will not help.
What You Need Before You Begin
Preparation makes the process faster and safer. You do not need much, but the quality of the equipment matters.
- A set of jump leads in good condition, with no frayed insulation or loose clamps
- A second car with a healthy battery of a similar voltage, or a portable jump starter pack
- The vehicle handbook for both cars, if available
- Gloves and eye protection, which are sensible extras
- A torch if you are working in poor light
Thicker jump leads carry current more reliably than thin, budget cables. Short or very thin leads can struggle to deliver enough power, particularly on larger engines or in cold weather.
Safety Checks to Do First
A few seconds of checking can prevent serious problems. Do not skip them, even if you are in a hurry.
- Read the vehicle handbook for any specific jump start instructions. Some cars have designated jump points under the bonnet rather than the battery itself.
- Check the flat battery for cracks, bulging, or leaking fluid. If you see any of these, do not attempt a jump start.
- If the weather has been freezing and the battery may have frozen, do not attempt a jump start. A frozen battery can rupture.
- Make sure both cars are switched off, with keys removed, and all electrical items turned off, including lights, radio, and heated seats.
- Apply the handbrake on both cars, and leave them in neutral, or park for automatics.
- Make sure the two cars are close enough for the leads to reach, but not touching each other.
- Battery gases can be flammable, so keep naked flames, cigarettes, and sparks well away from the engine bay.
How to Identify the Battery Terminals
Getting the connections right depends on knowing which terminal is which. Both are normally marked clearly.
| Terminal | Marking | Usual colour | Cable colour |
| Positive | Plus sign (+) | Red cover or red marking | Red clamp |
| Negative | Minus sign (−) | Black cover or black marking | Black clamp |
If the terminals are covered by plastic caps or hidden under a cover, lift the cover gently to reveal them. If you cannot see the markings clearly, use a torch rather than guessing. Connecting the cables the wrong way round can damage the electronics in both cars.
Step by Step: How to Jump Start a Car Safely
Follow this order exactly. The sequence matters, because it keeps sparks away from the flat battery.

Step 1: Position the Cars
Park the donor car close enough for the leads to reach both batteries comfortably, with the cars facing each other or side by side. Make sure the bodywork does not touch.
Step 2: Connect the Red Clamp to the Flat Battery
Attach one red clamp to the positive terminal of the flat battery. Make sure it grips firmly on bare metal.
Step 3: Connect the Other Red Clamp to the Donor Battery
Attach the other red clamp to the positive terminal of the donor car’s battery.
Step 4: Connect the Black Clamp to the Donor Battery
Attach one black clamp to the negative terminal of the donor battery.
Step 5: Connect the Final Black Clamp to Bare Metal
Attach the last black clamp to an unpainted metal part of the flat car, such as an engine bracket or a bolt on the engine block, well away from the battery. This is called an earth point. Using it rather than the flat battery’s negative terminal reduces the risk of a spark near battery gases.
Step 6: Start the Donor Car
Start the donor car and let it run at a slightly raised idle for about two to three minutes. This allows some charge to flow into the flat battery.
Step 7: Start the Flat Car
Try starting the flat car. If it starts, let both engines run for a minute or two before removing the cables. If it does not start straight away, wait a few more minutes and try again, rather than cranking repeatedly.
The Connection Order at a Glance
| Order | Clamp | Connect to |
| 1 | Red | Positive terminal of the flat battery |
| 2 | Red | Positive terminal of the donor battery |
| 3 | Black | Negative terminal of the donor battery |
| 4 | Black | Bare metal earth point on the flat car |
A simple way to remember it: red to flat, red to donor, black to donor, black to metal.
How to Remove the Cables Safely
Removing the cables is just as important as connecting them, and the order is reversed.
- Remove the black clamp from the earth point on the car that was flat.
- Remove the black clamp from the donor battery.
- Remove the red clamp from the donor battery.
- Remove the red clamp from the car that was flat.
Never let the metal ends of the clamps touch each other while any of them is still attached to a battery. Keep the flat car running once the cables are off.
What to Do After the Car Starts
A successful jump start is only the first step. The battery is still low, and the car needs time to recharge it.
- Drive for at least 20 to 30 minutes if possible, ideally at a steady speed rather than in stop start traffic
- Avoid switching the engine off during this time, since the battery may not have enough charge to restart
- Minimise electrical use, such as heated seats and the rear screen, until the battery has recovered
- If the car stalls again soon after, or will not restart later, the problem is likely more than a one off flat battery
Idling in the driveway recharges the battery far more slowly than driving, because the alternator produces more power at higher engine speeds.
Common Jump Starting Mistakes
Most problems come from small errors that are easy to avoid.
- Connecting the clamps in the wrong order, which raises the risk of sparks
- Letting the clamps touch each other while connected to a live battery
- Attaching the final black clamp to the flat battery instead of bare metal
- Using damaged or very thin leads that cannot carry enough current
- Revving the donor car aggressively, which can cause voltage spikes
- Repeatedly cranking the flat car for long periods, which can overheat the starter motor
- Jump starting a battery that is cracked, leaking, or frozen
A calm, deliberate approach is far safer than a rushed one.
Jump Starting Modern Cars: What Is Different
Modern vehicles carry far more electronics than older cars, which makes careful jump starting more important.
Some cars have a dedicated positive jump point under the bonnet, and the battery itself may be hidden in the boot or under a seat. In these cases, the handbook will show where to connect the leads. Always follow it rather than assuming the battery is where it would be in an older car.
Cars with stop start systems often use a specialised type of battery. These batteries can usually be jump started in the same way, but it is still wise to check the handbook first.
Hybrid and electric vehicles are a special case. They have a small 12 volt battery that runs the electronics, separate from the large high voltage battery that drives the car. The 12 volt battery can sometimes be jump started, but the handbook should always be checked first, since the correct procedure varies. Never attempt to connect anything to a high voltage battery or its orange cabling.
Using a Portable Jump Starter Instead
A portable jump starter pack removes the need for a second car, which makes it very handy when you are on your own.
The process is similar, with a few differences:
- Make sure the pack is charged and switched off before connecting.
- Connect the red clamp to the positive terminal of the flat battery.
- Connect the black clamp to bare metal on the car, away from the battery.
- Switch the pack on, wait a moment, and then start the car.
- Once the engine is running, switch the pack off and remove the clamps in reverse order.
Always follow the instructions supplied with the pack, since different models have their own safety features and procedures.
What If the Car Still Won’t Start?
Sometimes a jump start does not work, and that is useful information in itself.
- Nothing happens at all: the connections may be loose or dirty. Check that each clamp is gripping bare metal, and look for corrosion on the terminals.
- Clicking continues: the battery may be too far gone, or the starter motor may have a fault.
- Engine cranks but will not fire: the problem is probably not the battery. Look at fuel, ignition, or sensors instead.
- Car starts, then dies shortly after: the alternator may not be recharging the battery.
In these situations, a proper diagnostic test is the quickest way to find out what is really going on, rather than replacing parts based on guesswork. A local garage such as GForce Tyres can check the battery, starter motor, and charging system together, so you know exactly which part is at fault.
Why Batteries Go Flat in the First Place
A jump start gets you moving, but it does not explain why the battery went flat. Understanding the cause helps stop it happening again.
Common reasons include:
- An old battery that has reached the end of its life, typically after several years
- Frequent short journeys that do not give the alternator time to recharge the battery
- Cold weather, which reduces the battery’s ability to deliver power
- Lights or electrical items left on by mistake
- A parasitic drain, where something keeps drawing power after the car is switched off
- A faulty alternator that fails to recharge the battery while driving
If your battery keeps going flat even when none of the obvious causes apply, it is worth having the battery and charging system tested, since the fault may not be visible from the outside.
Do and Don’t Summary
| Do | Don’t |
| Read the handbook first | Assume every car has the same jump points |
| Switch off both cars and all electrical items | Leave lights or the radio on |
| Connect red clamps before black | Let the clamps touch each other |
| Use bare metal for the final black clamp | Attach it to the flat battery’s negative terminal |
| Drive for 20 to 30 minutes afterwards | Switch off the engine straight away |
| Get the battery tested if it fails again | Rely on repeated jump starts |
When a Jump Start Is Not Enough
A single flat battery caused by a light left on is an easy fix. A battery that goes flat repeatedly is a different matter, and it usually means something needs attention.
Book a check with a local garage such as GForce Tyres if any of the following apply:
- You have needed more than one jump start in a short period
- The car struggles to start even after being driven for a long journey
- Warning lights appear on the dashboard while driving
- Headlights dim at idle or the electrics behave oddly
- The battery is more than a few years old and has started cranking slowly
A battery and charging system test takes only a few minutes and can prevent a breakdown at a much worse moment. Battery condition and electrical checks also fit naturally alongside an MOT test in Aldershot, so if your car is booked in with GForce Tyres, it is a good time to raise any starting concerns.
Final Thoughts
Jump starting a car is a simple skill that every driver benefits from knowing, but it works best when done carefully and in the right order. Check that the battery is the real problem, prepare properly, connect the cables in the correct sequence, and remove them in reverse. Most importantly, treat a jump start as a temporary fix rather than a cure.
For drivers across Aldershot, Farnborough, Fleet, Farnham, Ash Vale, Tongham, and North Camp, the best protection against a flat battery is paying attention to early signs, such as slow cranking or dim lights, and having the battery tested before it fails. The team at GForce Tyres can help get to the bottom of repeated starting problems. A few minutes of care today can save a lot of stress on a cold morning.
Frequently Asked Questions
Can I jump start a car in the rain?
Yes, it is generally safe as long as the battery and connections are not submerged. Take extra care to keep the clamps and your hands as dry as possible.
How long should I leave the donor car running before starting the flat car?
About two to three minutes is usually enough. If the flat battery is very low, a few extra minutes may help.
Can jump starting damage a car’s electronics?
It can if done incorrectly, for example with the clamps connected the wrong way round. Following the correct order and checking the handbook reduces the risk considerably.
How long does a jump started battery stay charged?
It depends on the battery’s condition. A healthy battery drained by a light left on may recover well after a long drive, but an old or failing battery may go flat again within a day or two.
Can I jump start a hybrid or electric car?
The 12 volt battery on many hybrid and electric vehicles can be jump started, but the procedure varies. Always check the handbook first, and never connect anything to the high voltage system.